
Bleak Forest
Order of Play
© Johnathan L. Bingham & Ostensible Cat Design
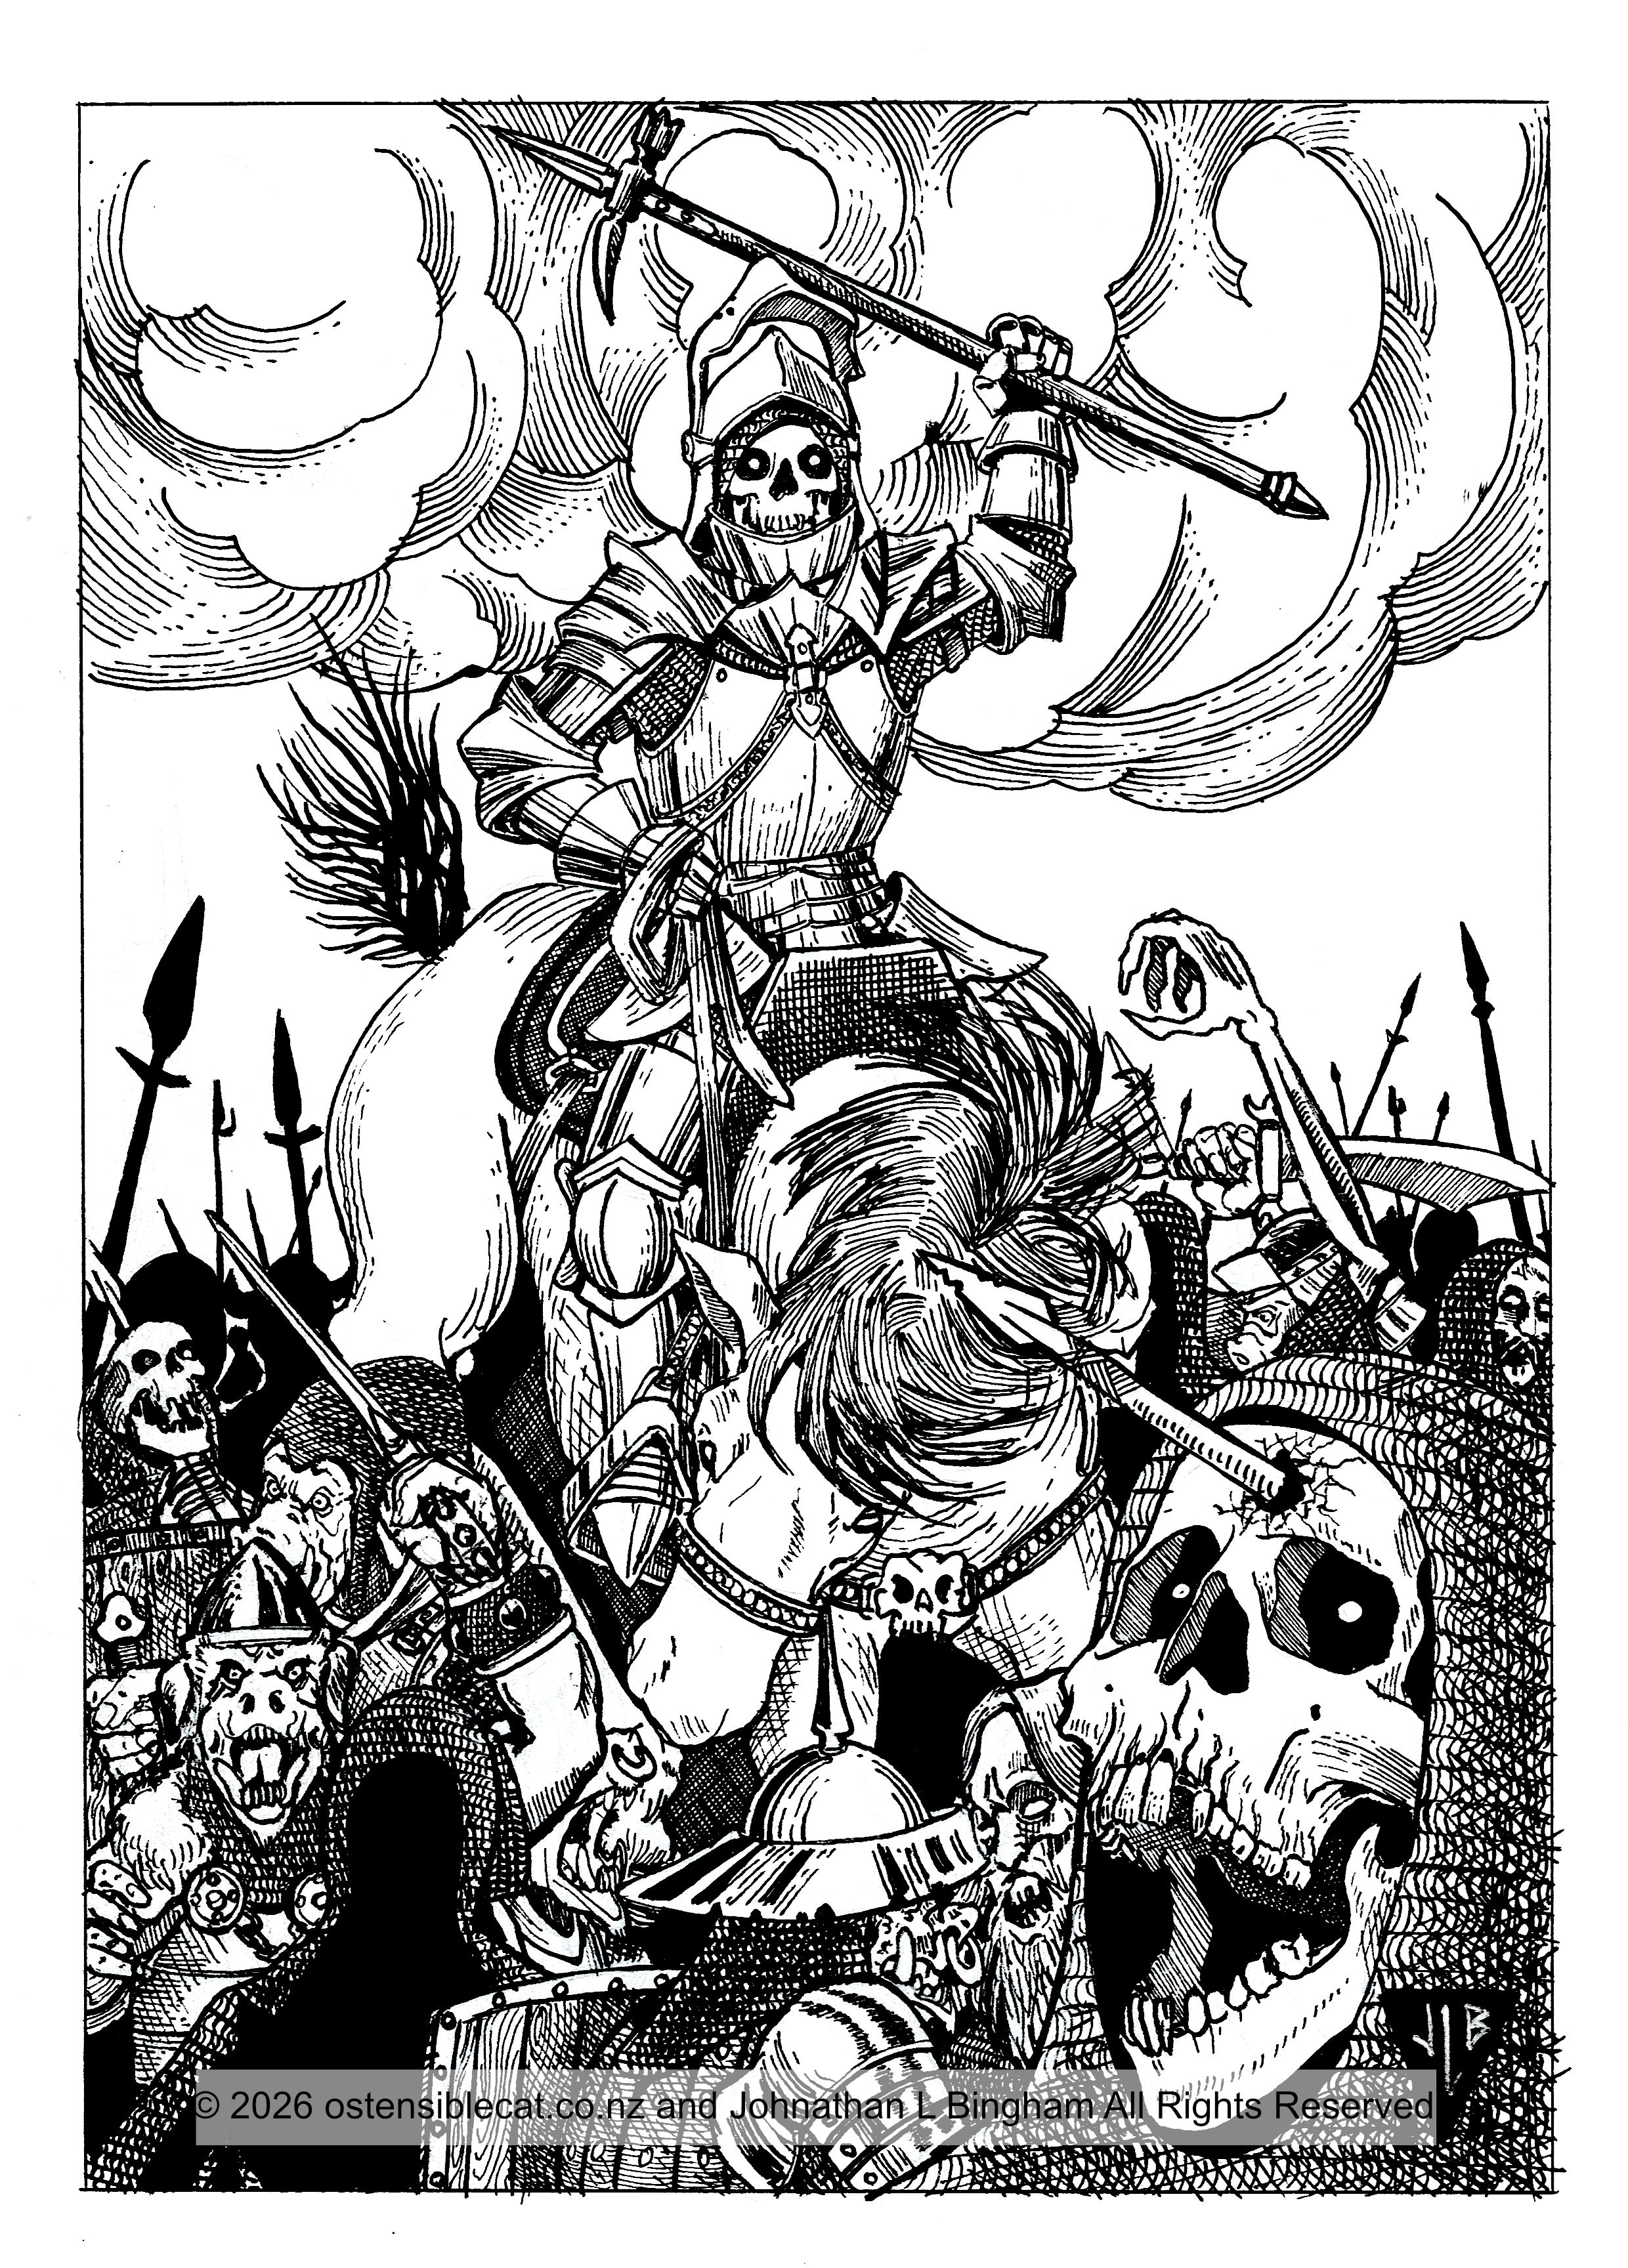
The Game Loop - Order of Play
Play moves through one repeating sequence:
Strategic Phase →
Encounter Trigger → Tactical Phase → Encounter Aftermath → Return to
Strategic Phase.
Challenges and Ordeals interrupt this sequence
when their triggers occur, then return play to the appropriate point in
the loop.
Strategic Phase: Resolve travel, exploration, foraging, rest, repairs, crafting, rituals, and resource management in Ticks, Marks, and Watches. Terrain, weather, and the current action determine whether the Danger or Dread Die is rolled.
Tactical Phase: Resolve immediate interaction through approach, conversation, deception, concealment, flight, pursuit, combat, or submission. Use rounds and precise positioning only when timing or location matters.
The order of play will vary slightly depending on the version of the Bleak Forest Game you are playing. For instance, in Escape the Bleak Forest, you begin at a hovel deep in the Bleak Forest, while in Bleak Forest: Hail Three Wyrd Sisters, you begin at a specified position on the map. If you are using your own map and/or rules, follow the guidelines below to develop your own order of play. The order of play can be broken down into the Strategic and Tactical play phases as follows.
- Frame the Strategic Phase. Determine terrain, weather, position, elapsed time, and current resources.
- Declare the strategic action. Travel, Explore, Forage, Rest, Repair, Craft, or perform a Ritual or Sigil.
- Check for interruption. Roll the Danger or Dread Die when required. Resolve a Still Watch, Special Event, Omen, Manifestation, or other result before continuing the action.
- Enter the Tactical Phase if an encounter occurs. Identify the encounter, establish approach distance and visibility, determine surprise and disposition, then choose an approach. Roll initiative only when immediate action order matters.
- Resolve the encounter. Use Parley, Hide, Flee, Ruse, Combat, Submit, pursuit, or the encounter’s specific procedure.
- Apply aftermath. Record final position, elapsed time, damage, Conditions, Fatigue, expended resources, Durability, loot, Fragments, Identity Mark effects, and scenario consequences.
- Return to Strategic play. Resume the interrupted action if time remains and it is still possible; otherwise complete the End of Watch procedure and begin the next Watch.

Strategic Order of Play
The Strategic Phase is the default state of play. Resolve each Watch in the order below. If an encounter, Challenge, or Ordeal begins, suspend the current strategic action and return to it only after the interrupting procedure is complete.
- Determine the terrain and position. Apply effects on movement, foraging, visibility, cover, and the Danger or Dread pool.
- Roll and apply weather. Weather lasts for the Watch and modifies movement, visibility, foraging, and encounter risk.
- Declare the Watch action. Choose Travel, Explore, Forage, Rest, Repair, Craft, or Ritual/Sigil.
- Roll the Danger or Dread Die when required. Escape the Bleak Forest normally uses the Danger Die when entering a new Exploration sub-hex. Hail Three Wyrd Sisters uses or supplements it with the Dread Die according to its regional rules.
- Resolve the result. A Still Watch or Special Event is resolved in strategic time. An encounter begins the Tactical Phase. An Omen may trigger a prepared Challenge or Ordeal.
- Complete the declared action. If an interrupting result does not prevent it, finish the action using the relevant travel, exploration, rest, crafting, or ritual rules.
- End the Watch. Apply resource use, Fatigue, ongoing effects, progress tracks, and triggered events, then begin the next Watch.
Strategic Action Reference
- Travel: move into a new area and do the
following:
- Apply terrain and weather; record time and distance.
- If a new area Hex, then return to Step 1.
- If a sub-hex, return to Step 3 (Danger/Dread Die).
- Explore: Spend the Watch examining the current
sub-hex in depth. Make a Wits check (Difficult 16) to gain a Fragment
for a Challenge or Ordeal.
- Forage — attempt to find food, water, Healing
Herbs, or Alchemical Components. Declare Herb Search or
Component Search before rolling. Make a Wits check vs. the
terrain’s Forage BAM!, then roll the Forage Die pool (1d6 base; +1d6 per
Survival Focus rank, maximum 4d6 total). Roll all dice in the pool and
take the highest result. Each Survival Focus rank also grants one
additional Forage attempt per Watch — roll the full pool again for each
additional attempt.
- Rest: Choose the type of rest you need (see Rest
and Recovery):
- Recovery (1 Tick): restores 1 Vitality and
clears 1 Mishap die.
- Short Rest (1 Watch): restores all Vitality,
clears all Mishap dice and removes 1 Fatigue.
- Full Rest (2 Watches): restores all Vitality,
clears all Mishap dice and all Fatigue, and heals 1 point of each
damaged attribute.
You cannot rest in the Dead or Bleak Forest without setting a guard.
Elsewhere, see Danger Die › Resting without a guard.
- Repair Items — make a Wits check (+ Repair Focus
advantage if held) vs. the item’s Repair BAM! to restore 1 Durability.
Requires appropriate tools. Takes 1 Watch per significant
repair.
- Craft (Alchemy) — craft an alchemical item using
the Occultism / Alchemy Focus. Requires an Alchemy Kit and appropriate
components. 1st Order: 1 Watch. 2nd Order: 2 Watches. 3rd Order: 1 full
day. See Alchemy rules.
- Ritual / Sigil — inscribe a sigil (1 Watch for
Glyphs and Wards) or perform an extended magical ritual. See Paths
Arcane for timing and component requirements.
End of Watch Checklist
- Light. Reduce your Torch die by 1 pip for each
Mark (hour) the torch was lit this Watch.
- Forced March. If you travelled beyond two
Watches today, make a Corpus save at the end of each extra Mark. On a
failure, add 1 Fatigue and halve your trekking speed from the next Mark
until a Full Rest removes that Fatigue. Each Watch of Forced March also
costs 1 extra pip of Food and of Water.
- End of day. If you take a Short or Full Rest
this Watch, reduce your Food and Water dice by 1 pip each. A rest taken
without both restores nothing.
- Omen. For each Prepared Challenge or Ordeal,
roll 1d6, adding +1 for each Watch it has already waited. On a 6 or
higher, its Omen arrives (see Omen Timing).
- Other triggers. Resolve any other end-of-Watch
effect at your location. If an event begins, resolve it before the next
Watch. Otherwise, return to step 1 of the Strategic Order of
Play.
Tactical Order of Play
- Apply terrain and weather; record time and distance.
- If a new area Hex, then return to Step 1.
- If a sub-hex, return to Step 3 (Danger/Dread Die).
- Recovery (1 Tick): restores 1 Vitality and clears 1 Mishap die.
- Short Rest (1 Watch): restores all Vitality, clears all Mishap dice and removes 1 Fatigue.
- Full Rest (2 Watches): restores all Vitality, clears all Mishap dice and all Fatigue, and heals 1 point of each damaged attribute.
- Light. Reduce your Torch die by 1 pip for each Mark (hour) the torch was lit this Watch.
- Forced March. If you travelled beyond two Watches today, make a Corpus save at the end of each extra Mark. On a failure, add 1 Fatigue and halve your trekking speed from the next Mark until a Full Rest removes that Fatigue. Each Watch of Forced March also costs 1 extra pip of Food and of Water.
- End of day. If you take a Short or Full Rest this Watch, reduce your Food and Water dice by 1 pip each. A rest taken without both restores nothing.
- Omen. For each Prepared Challenge or Ordeal, roll 1d6, adding +1 for each Watch it has already waited. On a 6 or higher, its Omen arrives (see Omen Timing).
- Other triggers. Resolve any other end-of-Watch effect at your location. If an event begins, resolve it before the next Watch. Otherwise, return to step 1 of the Strategic Order of Play.
Tactical Order of Play
The Tactical Phase begins when an encounter demands immediate interaction. First identify what was encountered and establish approach distance, visibility, and relevant terrain. Determine surprise and disposition before choosing an approach. Roll initiative only when the order of immediate actions matters. Use Encounter scale for approach, long-range exchanges, and pursuit; shift to Combat scale when precise positioning or melee matters.
- determine surprise (opposed Anima check; higher roll acts first and may take a free action),
- check creature disposition (roll 2d6 if unknown):
- 2–3 Hostile
- 4–6 Wary
- 7–9 Curious
- 10–11 Friendly
- 12 Helpful
- roll initiative (d6 + Anima modifier; if it is a tie, you win)
- Once the encounter has been initiated, choose one of the
following actions:
- Parley: (not possible if the creature is Hostile or Inimical) You can attempt to communicate, trade, negotiate safe passage, or recruit. Use the Guile skill to shift the creature’s disposition to a more favourable state.
- Hide: (requires available cover) Make an Anima check opposed by the creature’s Anima (or Average 13) to pass undetected and avoid conflict.
- Flee: Make an Anima save (Average 13) to break contact. On a failure, each engaged enemy may make one free attack before you move. If an opponent follows, begin a pursuit using the current measured gap, movement mode, terrain, weather, and the Pursuit and Evasion rules in the Travel chapter. Entering a new sub-hex during the pursuit increases its Danger Die by 1. Resolve all flight and pursuit using Pursuit and Evasion.
- Ruse: (not available if the creature is Hostile) Attempt to bribe, deceive, or steal before hostilities begin. Opposed Anima check; add Guile rank if held. On a win: the bribe is accepted, the deception succeeds, or the theft goes unnoticed. On a failure: the creature immediately becomes Hostile and initiative is rolled. On a natural 1: the creature gains surprise.
- Combat: Choose this hostile action when negotiation, concealment, flight, or submission is no longer being attempted. Establish current range and positions, place relevant terrain or obstacles, confirm surprise, and roll initiative. Then use the Combat Round procedure under Tactical Phase. If a character dies, resolve the applicable death or Recursion rules after the encounter.
- Submit: Attempt to appease the creature and avoid hostilities. Make an Anima check (Difficult 16): on a success, forfeit all loot and pass through; on a failure, hostilities continue. Encountered parties may also surrender to avoid conflict, allowing you to move through (though often at the cost of treasure or equipment).
Encounter Aftermath and Return
When the encounter ends, determine the characters’ final location and the time that passed. Apply damage, Conditions, Fatigue, expended ammunition, Durability loss, consumed items, Mishaps, personal Corruption, disposition changes, loot, Fragments, and scenario consequences. If movement crossed into a new sub-hex, apply the required Danger or Dread effects. If usable time remains and the interrupted strategic action is still possible, resume it. Otherwise complete the End of Watch procedure and begin the next Watch.